


road and workshop
Page 45
If you've noticed an error in this article please click here to report it so we can fix it.
by Handyman
Benchwise: lathe sense (15)
IN my last article I concluded lathe and taper turning with a test piece between centres, and the top slide now set correctly; before moving on I must deal with the other popular method, setting over the tail-stock assembly the required amount to give the offset needed for a given taper. Here again, the easier method concerns use of the dial gauge, which is really a "must" if serious turning is being considered, and only takes a small outlay. However, whether setting the tail-stock over by known measurement, or with a test piece between centres, the dial gauge cuts setting-time right down.
If working to an exact measurement only, with no test piece, the dial gauge should first be used to check that the tail-stock is truly parallel with the lathe as described earlier, then the plunger of the gauge should be against the tail-stock barrel at zero. the tail-stock binding screws or bolts in the base eased and the tail unit moved across until the dial indicates that the predetermined calculation has been reached.
Test tapers
However, I strongly recommend the use of test tapers—with a test piece between centres and the dial gauge plunger registering on the taper it takes only a few minutes to set the tail-stock over. But do remember that just as when setting the top slide, the plunger of the gauge must be at the exact height of the lathe centre.
Now as to the lathe tool required—this should be a knife tool rather than the round nose, as this will operate without the
"chatter" often associated with round nose tools, and chatter can mean a rough or ridged finish that must be avoided with taper fits. Speed is another matter of importance, and it must be made clear to the trainee that there are two features of speed with lathe work; (1) cutting speed, that at which the revolving material is passing the tool point, and not to be confused with (2) lathe spindle speed, the rpm of the driven workpiece.
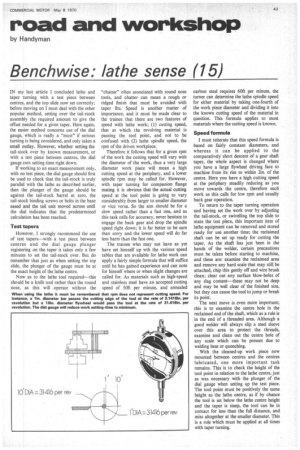
Therefore it follows that for a given rpm of the work the cutting speed will vary with the diameter of the work, thus a very large diameter work piece will mean a high cutting speed at the periphery, and a lower spindle rpm may be called for. However, with taper turning for companion flange mating it is obvious that the actual cutting speed at the tool point is going to vary considerably from larger to smaller diameter or vice versa. So the aim should be for a slow speed rather than a fast one, and as this task calls for accuracy, never hesitate to engage the back gear and drop the spindle speed right down; it is far better to be sure than sorry and the lower speed will do far less harm than the fast one.
The trainee who may not have as yet have set himself up wth the various speed tables that are available for lathe work can apply a fairly simple formula that will suffice until he has gained experience and can note for himself where or when slight changes are called for. As materials such as high-speed and stainless steel have an accepted cutting speed of 50ft per minute, and annealed carbon steel requires 60ft per minute, the turner can determine the lathe spindle speed for either material by taking one-fourth of the work piece diameter and dividing it into the known cutting speed of the material in question. This formula applies to most materials where the cutting speed is known.
Speed formula
I must reiterate that this speed formula is based on fairly constant diameters, and whereas it can be applied to the comparatively short descent of a gear shaft taper, the whole aspect is changed where you have a large flywheel driving face to machine from its rim to within 2in. of the centre. Here you have a high cutting speed at the periphery steadily reducing as you move towards the centre, therefore such work as this calls for low rpm and usually back gear operation.
To return to the taper turning operation and having set the work over by adjusting the tail-stock, or swivelling the top slide to mate the test piece, this important item of lathe equipment can be removed and stored ready for use another time; the reclaimed shaft can be set up ready for cutting the taper. As the shaft has just been in the hands of the welder, certain precautions must be taken before starting to machine, and these are: examine the reclaimed area and remove any hard scale that may still be attached, chip this gently off and wire brush clean; clear out any surface blow-holes of any slag content—these may not be deep and may be well clear of the finished size, but they can cause the tool to jump or break its point.
The next move is even more important; this is to examine the centre hole in the reclaimed end of the shaft, which as a rule is in the end of a threaded area. Although a good welder will always slip a steel sleeve over this area to protect the threads, examine and clean out the centre hole of any scale which can be present due to welding heat or quenching.
With the cleaned-up work piece now mounted between centres and the centres lubricated, one more important task remains. This is to check the height of the tool point in relation to the lathe centre, just as was necessary with the plunger of the dial gauge when setting up the test piece. The tool point must be positively the same height as the lathe centre, as if by chance the tool is set below the lathe centre height and the taper is steep, the tool can be in contact for less than the full distance, and miss altogether at the smaller diameter. This is a rule which must be applied at all times with taper turning.