R enault's AE is, in many ways, an evolution of the
Page 87

Page 88

Page 89

Page 90

If you've noticed an error in this article please click here to report it so we can fix it.
thinking behind the big Berliet cab, so it looks very different to the run of the mill truck. But how different is it mechanically? To find out we decided to write a Workshop Ways on an AE380.
So far most AEs in the UK have been fitted with the 283kW (380hp) 12litre Renault engine rather than the 373kW (500hp) Mack power plant.
The AE380 has three levels of service: A, B and C with corresponding standard times of one hour, 2.3 and 6.5 hours. Depending on the oil used and type of work service intervals range between 15,000 and 40,000km.
For trunking work using an oil to CCMC D4, the service intervals are 20,000km and the sequence is A, B, A, C. With a D5 oil intervals go up to 30,000km and the sequence becomes B, B, C. Using an SHPD oil the intervals are 40,000km and the services alternate between B and C.
We watched as technician Kim Gearing carried out a B service on an AE at the manufacturer-owned dealer Renault Reading. Gearing has been with Renault for six years and attended most of the training courses.
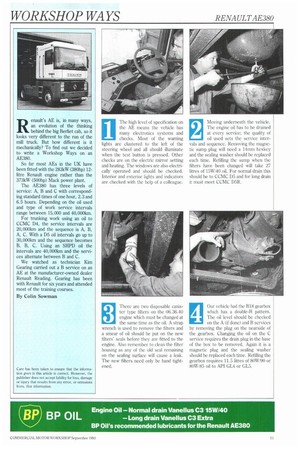
By Colin Sowman The high level of specification on the AE means the vehicle has many electronics systems and checks. Most of the warning lights are clustered to the left of the steering wheel and all should illuminate when the test button is pressed. Other checks are on the electric mirror setting and heating. The windows are also electrically operated and should be checked. Interior and exterior lights and indicators are checked with the help of a colleague.
1
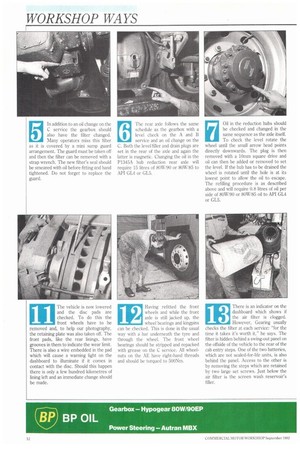
Moving underneath the vehicle. The engine oil has to he drained at every service: the quality of oil used sets the service intervals and sequence. Removing the magnetic sump plug will need a 14mm hcxkey and the sealing washer should be replaced each time. Refilling the sump when the filters have been changed will take 27 litres of 15W/40 oil. For normal drain this should be to CCMC D5 and for long drain it must meet CCMC D5R.
There are two disposable canister type filters on the 06.36.40 engine which must be changed at the same time as the oil. A strap wrench is used to remove the filters and a smear of oil should be put on the new filters' seals before they are fitted to the engine. Also remember to clean the filter housing as any of the old seal remaining on the sealing surface will cause a leak. The new filters need only be hand tightened.
4 Our vehicle had the 1318 gearbox
which has a double-H pattern.
The oil level should be checked on the A (if done) and B services by removing the plug on the nearside of the gearbox. Changing the oil on the C service requires the drain plug in the base of the box to be removed. Again it is a magnetic plug and the sealing washer should be replaced each time. Refilling the gearbox requires 11.5 litres of 80W/90 or 80W/85 oil to API GL4 or GL5.
In addition to an oil change on the C service the gearbox should also have the filter changed. Many operators miss this filter as it is covered by a mini sump guard arrangement. The guard must be taken off and then the filter can be removed with a strap wrench. The new filter's seal should be smeared with oil before fitting and hand tightened. Do not forget to replace the guard. The rear axle follows the same schedule as the gearbox with a level check on the A and 13 service and an oil change on the C. Both the level/filler and drain plugs are set in the rear of the axle and again the latter is magnetic. Changing the oil in the P1345A hub reduction rear axle will require 15 litres of 80W/90 or 80W/85 to API GL4 or GL5.
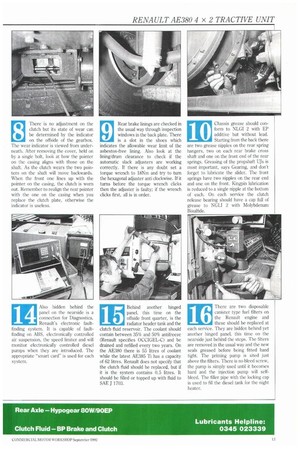
Oil in the reduction hubs should be checked and changed in the same sequence as the axle To check the level rotate the wheel until the small arrow head points directly downwards. The plug is then removed with a 101nm square drive and oil can then be added or removed to set the level. If the hub has to be drained the wheel is rotated until the hole is at its lowest point to allow the oil to escape. The refilling procedure is as described above and will require 0.8 litres of oil per side of 80W/90 or 80W/85 oil to API GL4 or GL5. There is no adjustment on the clutch but its state of wear can be determined by the indicator on the offside of the gearbox. The wear indicator is viewed from underneath. After removing the cover, held on by a single bolt, look at how the pointer on the casing aligns with those on the shaft. As the clutch wears the two pointers on the shaft will move backwards. When the front one lines up with the pointer on the casing, the clutch is worn out. Remember to realign the rear pointer with the one on the casing when you replace the clutch plate, otherwise the indicator is useless. Rear brake linings are checked in the usual way through inspection windows in the back plate. There is a slot in the shoes which indicates the allowable wear limit of the asbestos-free lining. Also look at the lining/drum clearance to check if the automatic slack adjusters are working correctly. If there is any doubt set a torque wrench to 18Nrn and try to turn the hexagonal adjuster anti clockwise. If it turns before the torque wrench clicks then the adjuster is faulty; if the wrench clicks first, all is in order.
10 Chassis grease should con
form to NLGI 2 with EP additive but without lead.
Starting from the back there are two grease nipples on the rear spring hangers, two on each rear brake cross shaft and one on the front end of the rear springs. Greasing of the propshaft UJs is most important, says Gearing, and don't forget to lubricate the slider. The front springs have two nipples on the rear end and one on the front. Kingpin lubrication is reduced to a single nipple at the bottom of each. On each service the clutch release bearing should have a cap full of grease to NGLI 2 with Molybdenum Bisulfide.
11 The vehicle is now towered
and the disc pads are checked. To do this the front wheels have to be removed and, to help our photography, the retaining plate was also taken off. The front pads, like the rear linings, have grooves in them to indicate the wear limit. There is also a wire embedded in the pad which will cause a warning light on the dashboard to illuminate if it comes in contact with the disc. Should this happen there is only a few hundred kilometres of lining left and an immediate change should be made.
12 Having refitted the front
wheels and while the front axle is still jacked up, the wheel bearings and kingpins can be checked. This is done in the usual way with a bar underneath the tyre and through the wheel. The front wheel bearings should be stripped and repacked with grease on the C service. All wheelnuts on the AE have right-hand threads and should be torqued to 500Nrn.
13 There is an indicator on the
dashboard which shows if the air filter is clogged.
However, Gearing usually checks the filter at each service: "for the time it takes it's worth it," he says. The filter is hidden behind a swing-out panel on the offside of the vehicle to the rear of the cab entry steps. One of the two batteries, which are not sealed-for-life units, is also behind the panel. Access to the other is by removing the steps which are retained by two large set screws. Just below the air filter is the screen wash reservoir's filler.
14 Also hidden behind the
panel on the nearside is a connection for Diagnostica, Renault's electronic faultfinding system. It is capable of faultfinding on ABS, electronically controlled air suspension, the speed limiter and will monitor electronically controlled diesel pumps when they are introduced. The appropriate "smart card" is used for each system.
15 Behind another hinged
panel, this time on the offside front quarter, is the radiator header tank and the clutch fluid reservoir. The coolant should contain between 35% and 50% antifreeze (Renault specifies OCCIGEL-C) and be drained and refilled every two years. On the AE380 there is 55 litres of coolant while the latest AE385 Ti has a capacity of 62 litres. Renault does not specify that the clutch fluid should be replaced, but if it is the system contains 0.5 litres. It should be filled or topped up with fluid to SAE J 1703.
16 There are two disposable
canister type fuel filters on the Renault engine and these should be replaced at each service. They are hidden behind yet another hinged panel, this time on the nearside just behind the steps. The filters are removed in the usual way and the new seals greased before being fitted hand tight. The priming pump is sited just above the filters. There is no bleed screw, the pump is simply used until it becomes hard and the injection pump will selfbleed. The filler pipe with the locking cap is used to fill the diesel tank for the night heater.
17 The cab is now tilted using
the electric tilt pump mounted by the fuel filters.
Tilting the cab gives access to the power steering fluid reservoir which is mounted on the offside of the engine. The filter in the reservoir should be changed on the C service but there is no need to change the fluid. There is a low fluid warning light on the dashboard but the fluid level should be checked using the sight markings on the side of the reservoir at each service. Topping up should be done with fluid to Dexron II specification.
18 There is also a centrifugal oil filter with a disposable
element on the Renault engine. The element should be renewed each time the oil is changed. To do this remove the centre bolt and lift the cover to reveal the element, which can be discarded. Clean out the cover before putting the new element in it. A new seal comes in the pack with the element and should be placed on the cover before refitting.
19 There is also a pre-filter in
the fuel line, the bowl of which should be cleaned out on the B and C services. To clean out the filter loosen the thumbscrew and slide the clamp off allowing the glass bowl to be removed. The bowl and gauze filter should then be cleaned and reassembled before refitting. Do not over tighten the thumbscrew as this can crack the glass bowl. Use the lift pump to refill the bowl with diesel, the injection pump will self bleed.
20 Before lowering the cab,
Gearing gives the top of the engine a quick check over to look for signs of oil and coolant leaks. There is an array of belts on the front of the engine driving the alternator, water pump and air conditioning system. Under reasonable pressure on the longest run the belts should deflect by around 12mm. On the C service the engine's valve clearances should be checked. On a cold engine they should be set to 0.25mm on the inlet and 0.5mm for the exhaust.
21 Looking round the chassis the spring hangers are
checked for wear by using a bar to detect any play. Mud wing mountings and fuel tank straps should be inspected and/or sounded with a hammer. The electrolyte level in the batteries should be checked as they are not sealed-for-life units and once a year the dessicant filter on the air dryer system should be changed. The final check with the front wheel back on the ground and the cab lowered is the steering joints. These are spring loaded so the use of a bar will not give an accurate assessment of their condition. The easiest way is to have someone rock the steering while each joint in turn is held, Any play will be felt as the steering moves from one direction to the other. The service is now finished.


