Electronics measure up
Page 79

If you've noticed an error in this article please click here to report it so we can fix it.
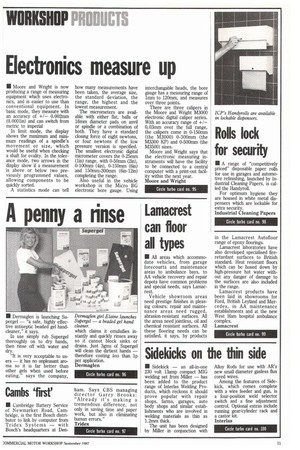
• Moore and Wright is now producing a range of measuring equipment which uses electronics, and is easier to use than conventional equipment. In basic mode, they measure with an accuracy of +/— 0.002mm (0.0001in) and can switch from metric to imperial In limit mode, the display shows the maximum and mini, mum readings of a spindle's movement or size, which would be useful when checking a shaft for ovality. In the tolerance mode, two arrows in the display show if a measurement is above or below two previously programmed values, allowing components to be quickly sorted.
A statistics mode can tell how many measurements have been taken, the average size, the standard deviation, the range, the highest and the lowest measurement.
The micrometers are available with either flat, balls or 16mm diameter pads on anvil or spindle or a combination of both. They have a standard closing force of eight newtons, or four newtons if the low pressure version is specified. The smallest electronic digital micrometer covers the 0-25mm (in) range, with 0-50mm (2in), 0-100mm (4in), 0-150mm (6in) and 150mm-300mm (6in-12in) completing the range.
Also useful in the vehicle workshop is the Micro BG electronic bore gauge. Using interchangable heads, the bore gauge has a measuring range of lrnm to 120nun, and measures over three points.
There are three calipers in the Moore and Wright M3000 electronic digital caliper series. With an accuracy range of +1— 0,03mm over the full range, the calipers come in 0-150mm (the M3000) 0-300mm (the M3300 KP) and 0-500mm (the M3500) sizes.
Moore and Wright says that the electronic measuring instruments will have the facility to be connected to a central computer with a print-out facility within the next year. Moore and Wright


