WORKSHOP WAYS MAN 11.292
Page 109

Page 110

Page 111

Page 112

If you've noticed an error in this article please click here to report it so we can fix it.
• MAN's 17.292 38-tonne tractive unit is the latest in the company's FSeries, and though servicing and maintaining it is very similar to the work needed on earlier F-Series vehicles, the model has gained from a number of improvements which, in some cases, means a change in maintenance procedures. No vehicle is ever perfect in its earliest versions, however, and there are a few points which are worth checking should you have an early production version which you service yourself, and does not go back to an MAN dealer very frequently.
An example which we illustrate here, is the hydraulic feed pipe for the clutch which on early versions had been known to chafe against the throttle cable. Another example, which we did not illustrate because it would mean taking the trim off the cab door, is that on early versions it was possible to swing the cab doors so wide open that they fouled against the front quarter panels, making an unsightly dent.
The cure is very simple — a spacer on the end of the check strap on the inside of the door to stop the door opening quite so far. MAN dealers should have this in stock.
Important points to watch where the servicing differs from earlier MANs are the kingpins, which now have needle rollers and must be greased with the weight of the vehicle off the front wheels, and the valve rocker setting clearances which have been altered from earlier models and are now 0.5mm for both inlet and exhaust rockers, set with the engine cold.
An important point to watch, particularly with all the publicity over the past few years which has been given to wheelstuds breaking, is the correct torque setting for the wheelnuts. Over-tightening can result in distorted brake drums and brake judder.
In this feature we visited the fitters' training school at MAN in Swindon.
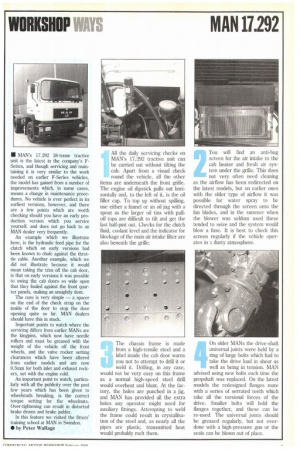
• by Peter Wallage All the daily servicing checks on MAN's 17.292 tractive unit can be carried out without tilting the cab. Apart from a visual check round the vehicle, all the other items are underneath the front grille. The engine oil dipstick pulls out horizontally and, to the left of it, is the oil filler cap. To top up without spilling, use either a funnel or an oil jug with a spout as the larger oil tins with pulloff tops are difficult to tilt and get the last half-pint out. Checks for the clutch fluid, coolant level and the indicator for blockage of the main air intake filter are also beneath the grille. 2 You will find an anti-bug screen for the air intake to the cab heater and fresh air system under the grille. This does not very often need cleaning as the airflow has been redirected on the latest models, but on earlier ones with the older type of airflow it was possible for water spray to be directed through the screen onto the fan blades, and in the summer when the blower was seldom used these tended to seize and the system would blow a fuse. It is best to check this screen regularly if the vehicle operates in a dusty atmosphere.
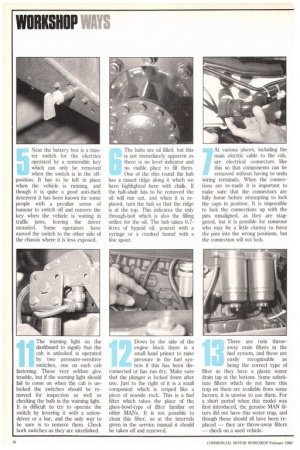
The chassis frame is made from a high-tensile steel and a label inside the cab door warns you not to attempt to drill it or weld it. Drilling, in any case, would not be very easy on this frame as a normal high-speed steel drill would overheat and blunt. At the factory, the holes are punched in a jig, and MAN has provided all the extra holes any operator might need for auxiliary fittings. Attempting to weld the frame could result in crystallisation of the steel and, as nearly all the pipes are plastic, transmitted heat would probably melt them. On older MANs the drive-shaft universal joints were held by a ring of large bolts which had to take the drive load in shear as well as being in tension. MAN advised using new bolts each time the propshaft was replaced. On the latest models the redesigned flanges mate with a series of serrated teeth which take all the torsional forces of the drive. Smaller bolts will hold the flanges together, and these can be re-used. The universal joints should be greased regularly, but not overdone with a high-pressure gun or the seals can be blown out of place. Near the battery box is a master switch for the electrics operated by a removable key which can only be removed when the switch is in the off position. It has to be left in place when the vehicle is running, and though it is quite a good anti-theft deterrent it has been known for some people with a peculiar sense of humour to switch off and remove the key when the vehicle is waiting in traffic jams, leaving the driver stranded. Some operators have moved the switch to the other side of the chassis where it is less exposed. The hubs are oil filled, but this is not immediately apparent as there is no level indicator and no visible place to fill them.
One of the ribs round the hub has a raised ridge along it which we have highlighted here with chalk. If the half-shaft has to be removed the oil will run out, and when it is replaced, turn the hub so that the ridge is at the top. This indicates the only through-bolt which is also the filling orifice for the oil. The hub takes 0.7litres of hypoid oil, poured with a syringe or a cranked funnel with a fine spout. At various places, including the main electric cable to the cab, are electrical connectors like this so that components can be removed without having to undo wiring terminals. When the connections are re-made it is important to make sure that the connectors are fully home before attempting to lock the caps in position. It is impossible to lock the connections up with the pins misaligned, as they are staggered, but it is possible for someone who may be a little clumsy to force the pins into the wrong positions, but the connection will not lock. As well as the electrical connections for removing components, there are also one or two junction connections like this one for adding extra elec-.
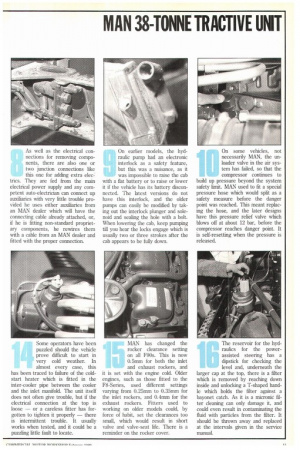
tries. They are fed from the main electrical power supply and any competent auto-electrician can connect up auxiliaries with very little trouble provided he uses either auxiliaries from an MAN dealer which will have the connecting cable already attached, or, if he is fitting non-standard proprietary components, he rewires them with a cable from an MAN dealer and fitted with the proper connection. On earlier models, the hydraulic pump had an electronic interlock as a safety feature, but this was a nuisance, as it was impossible to raise the cab with a flat battery or to raise or lower it if the vehicle has its battery disconnected. The latest versions do not have this interlock, and the older pumps can easily be modified by taking out the interlock plunger and solenoid and sealing the hole with a bolt. When lowering the cab, keep pumping till you hear the locks engage which is usually two or three strokes after the cab appears to be fully down. On some vehicles, not necessarily MAN, the unloader valve in the air system has failed, so that the compressor continues to build up pressure beyond the system safety limit. MAN used to fit a special pressure hose which would split as a safety measure before the danger point was reached. This meant replacing the hose, and the later designs have this pressure relief valve which blows off at about 12 bar, before the compressor reaches danger point. It is self-resetting when the pressure is released.
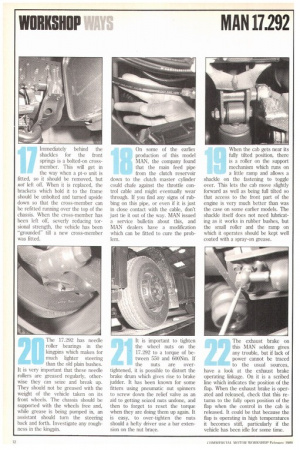
The warning light on the dashboard to signify that the cab is unlocked is operated by two pressure-sensitive switches, one on each cab fastening. These very seldom give trouble, but if the warning light should fail to come on when the cab is unlocked the switches should be removed for inspection as well as checking the bulb in the warning light. It is difficult to try to operate the switch by levering it with a screwdriver or a bar, and the only way to be sure is to remove them. Check both switches as they are interlinked. Down by the side of the engine block there is a small hand primer to raise pressure in the fuel system if this has been disconnected or has run dry. Make sure that the plunger is locked down after use. Just to the right of it is a small component which is striped like a piece of seaside rock. This is a fuel filter which takes the place of the glass-bowl-type of filter familiar on older MANs. It is not possible to clean this filter, so at the intervals given in the service manual it should be taken off and renewed. There are twin throwaway main filters in the fuel system, and these are easily recognisable as being the correct type of filter as they have a plastic water drain tap at the bottom. Some substitute filters which do not have this trap on them are available from some factors; it is unwise to use them. For a short period when this model was first introduced, the genuine MAN filters did not have this water trap, and though these should all have been replaced — they are throw-away filters — check on a used vehicle. Some operators have been puzzled should the vehicle prove difficult to start in very cold weather. In almost every case, this has been traced to failure of the coldstart heater which is fitted in the inter-cooler pipe between the cooler and the inlet manifold. The unit itself does not often give trouble, but if the electrical connection at the top is loose — or a careless fitter has forgotten to tighten it properly — there is intermittent trouble. It usually works when tested, and it could be a puzzling little fault to locate. MAN has changed the rocker clearance setting on all F90s. This is now 0.5mm for both the inlet and exhaust rockers, and it is set with the engine cold. Older engines, such as those fitted to the F8-Series, used different settings varying from 0.25mm to 0.35mm for the inlet rockers, and 0.4mm for the exhaust rockers. Fitters used to working on older models could, by force of habit, set the clearances too small, which would result in short valve and valve-seat life. There is a reminder on the rocker cover. The reservoir for the hydraulics for the powerassisted steering has a dipstick for checking the level and, underneath the larger cap at the top, there is a filter which is removed by reaching down inside and unlocking a T-shaped handle which holds the filter against a bayonet catch. As it is a micronic filter cleaning can only damage it, and could even result in contaminating the fluid with particles from the filter. It should be thrown away and replaced at the intervals given in the service manual. Immediately behind the shackles for the front springs is a bolted-on crossmember. This will get in the way when a pt-o unit is fitted, so it should be removed, but not left off. When it is replaced, the brackets which hold it to the frame should be unbolted and turned upside down so that the cross-member can be refitted running over the top of the chassis. When the cross-member has been left off, severly reducing torsional strength, the vehicle has been "grounded" till a new cross-member was fitted. On some of the earlier production of this model MAN, the company found that the main feed pipe from the clutch reservoir down to the clutch master cylinder could chafe against the throttle control cable and might eventually wear through. If you find any signs of rubbing on this pipe, or even if it is just in close contact with the cable, don't just tie it out of the way. MAN issued a service bulletin about this, and MAN dealers have a modification which can be fitted to cure the problem. When the cab gets near its fully tilted position, there is a roller on the support mechanism which runs on a little ramp and allows a shackle on the fastening to toggle over. This lets the cab move slightly forward as well as being full tilted so that access to the front part of the engine is very much better than was the case on some earlier models. The shackle itself does not need lubricating as it works in rubber bushes, but the small roller and the ramp on which it operates should be kept well coated with a spray-on grease.
The 17.292 has needle roller bearings in the kingpins which makes for much lighter steering than the old plain bushes.
It is very important that these needle rollers are greased regularly, otherwise they can seize and break up. They should not be greased with the weight of the vehicle taken on its front wheels. The chassis should be supported with the wheels free and, while grease is being pumped in, an assistant should turn the steering back and forth. Investigate any roughness in the kingpin. It is important to tighten the wheel nuts on the 17.292 to a torque of between 550 and 600Nm. If the nuts are overtightened, it is possible to distort the brake drum which gives rise to brake judder. It has been known for some fitters using pneumatic nut spinners to screw down the relief valve as an aid to getting seized nuts undone, and then to forget to reset the torque when they are doing them up again. It is easy, to over-tighten the nuts should a hefty driver use a bar extension on the nut brace. The exhaust brake on this MAN seldom gives any trouble, but if lack of power cannot be traced to the usual sources, have a look at the exhaust brake operating linkage. On it is a scribed line which indicates the position of the flap. When the exhaust brake is operated and released, check that this returns to the fully open position of the flap when the control in the cab is released. It could be that because the flap is operating in high temperatures it becomes stiff, particularly if the vehicle has been idle for some lime.


