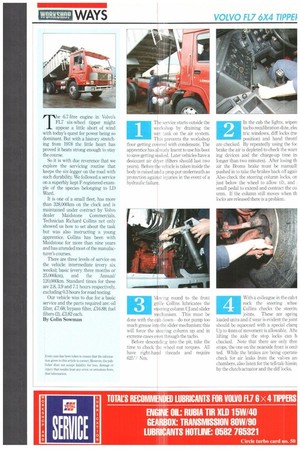
The service starts outside the workshop by draining the wet
Page 107

Page 108

If you've noticed an error in this article please click here to report it so we can fix it.
tank on the air system. This prevents the workshop floor getting covered with condensate. The apprentice has already learnt to use his boot to save getting soaked. Later vehicles have a desiccant air dryer (filters should last two years). Before the vehicle is taken inside the body is raised and a prop put underneath as protection against injuries in the event of a hydraulic failure.
1
Movng round to the front grille Collins lubricates the steering column UJ and slider Mechanism. This must be done with the cab down— do not pump too much grease into the slider mechanism: this will force the steering column up and in extreme cases even through the tacho.
Before descenclit:g into the pit, take the time to check the wheel nut torques. All have right-hand threads and require 62.5i NM.
3
In the cab the lights, wiper: tacho recalibration date, ele( tric windows, diff locks (tw position) and hand throttl are checked. By repeatedly using the foe brake the air is depleted to check the warr ing devices and the charge-up time (n, longer than two minutes). After losing th air the Broms brake must be manual!: pushed in to take the brakes back off agair Also check the steering column locks, on just below the wheel to allow tilt, and small pedal to extend and contract the co' umn. If the column still moves when th locks are released there is a problem.
2
With a colleague in the cab t rock the steering whee Collins checks the steerin; joints. These are sprinl loaded units and if wear is evident the joint should be squeezed with a special clam! Up to 4mrn of movement is allowable. Afte lifting the axle the stop locks can b checked. Note that there are only thre stops, the one on the nearside front is omii ted. While the brakes are being operate check for air leaks from the valves an' chambers, also listen for the tell-tale hissin: by the clutch actuator and the diff locks.
4
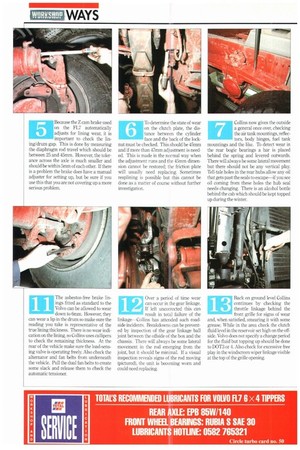
Because the Z cam brake used on the FL7 automatically adjusts for lining wear, it is important to check the lining/drum gap. This is done by measuring the diaphragm rod travel which should be between 25 and 45mm. However, the tolerance across the axle is much smaller and should be within 5mm of each other. If there is a problem the brake does have a manual adjuster for setting up, but be sure if you use this that you are not covering up a more serious problem.
11 The asbestos-free brake lin
ings fitted as standard to the Volvo can be allowed to wear down to 6mm. However, they can wear a lip in the drum so make sure the reading you take is representative of the true lining thickness. There is no wear indication on the lining, so Collins uses callipers to check the remaining thickness. At the rear of the vehicle make sure the load-sensing valve is operating freely. Also check the alternator and fan belts from underneath the vehicle. Pull the dual fan belts to create some slack and release them to check the automatic tensioner.
LiTo determine the state of wear on the clutch plate, the distance between the cylinder face and the back of the locknut must be checked. This should be 45mm and if more than 47mm adjustment is needed. This is made in the normal way when the adjustment runs and the 45mm dimension cannot be restored; the friction plate will usually need replacing. Sometimes resplining is possible but this cannot be done as a matter of course without further investigation.
BEOver a period of time wear can occur in the gear linkage. If left uncorrected this can result in total failure of the linkage—Collins has attended such roadside incidents. Breakdowns can be prevented by inspection of the gear linkage ball joint between the offside of the box and the chassis. There will always be some lateral movement in the rod emerging from the joint, but it should be minimal. lf a visual inspection reveals signs of the rod moving (pictured), the unit is becoming worn and could need replacing. Collins now gives the outside a general once over, checking the air tank mountings, reflectors, body hinges, fuel tank mountings and the like. To detect wear in the rear bogie bearings a bar is placed behind the spring and levered outwards. There will always be some lateral movement but there should not be any vertical play. Tell-tale holes in the rear hubs allow any oil that gets past the seals to escape—if you see oil coming from these holes the hub seal needs changing. There is an alcohol bottle behind the cab which should be kept topped up during the winter.
front grille for signs of wear and, when satisfied, smearing it with some grease. While in the area check the clutch fluid level in the reservoir set high on the offside. Volvo does not specify a change period for the fluid but topping up should be done to DOT3 or 4. Also check for excessive free play in the windscreen wiper linkage visible at the top of the grille opening.


