


• Bedford's CF van was introduced in 1979, and although
Page 93
Page 94
Page 95
Page 96
If you've noticed an error in this article please click here to report it so we can fix it.
the body shell and main running units remain substantially unchanged, it has had a variety of engines. The latest diesel is the 2.3-litre dealt with here, but much of the information applies to the earlier 2.1-litre engine, and most of the chassis points apply to any CF, petrol or diesel-engined.
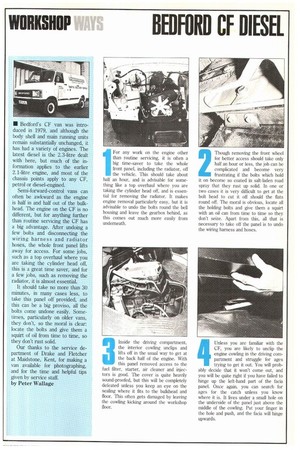
Semi-forward-control vans can often be awkward as the engine is half in and half out of the bulkhead. The engine on the CF is no different, but for anything further than routine servicing the CF has a big advantage. After undoing a few bolts and disconnecting the wiring harness and radiator hoses, the whole front panel lifts away for access. For some jobs, such as a top overhaul where you are taking the cylinder head off, this is a great time saver, and for a few jobs, such as removing the radiator, it is almost essential.
It should take no more than 30 minutes, in many cases less, to take this panel off provided, and this can be a big proviso, all the bolts come undone easily. Sometimes, particularly on older vans, they don't, so the moral is clear: locate the bolts and give them a squirt of oil from time to time, so they don't rust solid.
Our thanks to the service department of Drake and Fletcher at Maidstone, Kent, for making a van available for photographing, and for the time and helpful tips given by service staff.
by Peter Wallage 1 For any work on the engine other than routine servicing, it is often a big time-saver to take the whole front panel, including the radiator, off the vehicle. This should take about half an hour, and is advisable for something like a top overhaul where you are taking the cylinder head off, and is essential for removing the radiator. It makes engine removal particularly easy, but it is advisable to undo the bolts round the bell housing and leave the gearbox behind, as this comes out much more easily from underneath. 2 Though removing the front wheel for better access should take only half an hour or less, the job can be complicated and become very frustrating if the bolts which hold it on become so coated in salt-laden road spray that they rust up solid. In one or two cases it is very difficult to get at the bolt head to cut it off should the flats round off. The moral is obvious, locate all the holding bolts and give them a squirt with an oil can from time to time so they don't seize. Apart from this, all that is necessary to take off the panel is to undo the wiring harness and hoses.
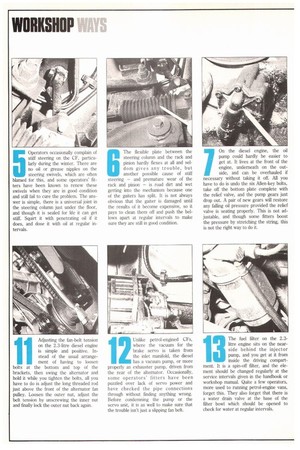
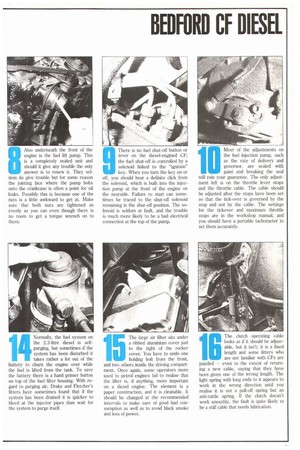
3 Inside the driving compartment, the interior cowling unclips and lifts off in the usual way to get at the back half of the engine. With this panel removed access to the fuel filter, starter, air cleaner and injectors is good. The cover is quite heavily sound-proofed, but this will be completely defeated unless you keep an eye on the sealing where it fits to the bulkhead and floor. This often gets damaged by leaving the cowling kicking around the workshop floor. 4 Unless you are familiar with the CF, you are likely to unclip the engine cowling in the driving compartment and struggle for ages trying to get it out. You will probably decide that it won't come out, and you will be quite right if you have failed to hinge up the left-hand part of the facia panel. Once again, you can search for ages for the catch unless you know where it is. It lives under a small hole on the underside of the panel just above the middle of the cowling. Put your finger in the hole and push, and the facia will hinge upwards. 5 Operators occasionally complain of stiff steering on the CF, particularly during the winter. There are no oil or grease nipples on the steering swivels, which are often blamed for this, and some operators' fitters have been known to renew these swivels when they are in good condition and still fail to cure the problem. The answer is simple, there is a universal joint in the steering column just under the floor, and though it is sealed for fife it can get stiff. Squirt it with penetrating oil if it does, and dose it with oil at regular intervals. 0 The flexible plate between the steering column and the rack and pinion hardly flexes at all and seldom gives any trouble, but another possible cause of stiff steering — and premature wear of the rack and pinion — is road dirt and wet getting into the mechanism because one of the gaiters has split. It is not always obvious that the gaiter is damaged until the results of it become expensive, so it pays to clean them off and push the bellows apart at regular intervals to make sure they are still in good condition. 7 On the diesel engine, the oil pump could hardly be easier to get at. It lives at the front of the engine, underneath on the outside, and can be overhauled if necessary without taking it off. All you have to do is undo the six Allen-key bolts, take off the bottom plate complete with the relief valve, and the pump gears just drop out. A pair of new gears will restore any falling oil pressure provided the relief valve is seating properly. This is not adjustable, and though some fitters boost the pressure by stretching the string, this is not the right way to do it.
Also underneath the front of the engine is the fuel lift pump. This is a completely sealed unit and should it give any trouble the only answer is to renew it. They seldom do give trouble but for some reason the jointing face where the pump bolts onto the crankcase is often a point for oil leaks. Possibly this is because one of the nuts is a little awkward to get at. Make sure that both nuts are tightened as evenly as you can even though there is no room to get a torque wrench on to them.
9 There is no fuel shut-off button or lever on the diesel-engined CF; the fuel shut-off is controlled by a solenoid linked to the "ignition" key. When you turn the key on or off, you should hear a definite click from the solenoid, which is built into the injection pump at the front of the engine on the nearside. Failure to start can sometimes be traced to the shut-off solenoid remaining in the shut-off position. The solenoid is seldom at fault, and the trouble is much more likely to be a bad electrical connection at the top of the pump.
Most of the adjustments on the fuel injection pump, such as the rate of delivery and governor, are sealed with paint and breaking the seal will ruin your guarantee. The only adjustment left is on the throttle lever stops and the throttle cable. The cable should be adjusted after the stops have been set so that the tick-over is governed by the stop and not by the cable. The settings for the tickover and maximum throttle stops are in the workshop manual, and you should have a portable tachometer to set them accurately.
1 oAndj uthsetin2g 3t-hlietrfeandi-beesletl engine tension io en In
stead of the usual arrange ment of having to loosen bolts at the bottom and top of the brackets, then swing the alternator and hold it while you tighten the bolts, all you have to do is adjust the long threaded rod just above the front of the alternator fan pulley. Loosen the outer nut, adjust the belt tension by unscrewing the inner nut and finally lock the outer nut back again. Unlike petrol-engined CFs, where the vacuum for the brake servo is taken from the inlet manifold, the diesel has a vacuum pump, or more properly an exhauster pump, driven from the rear of the alternator. Occasionally, some operators' fitters have been puzzled over lack of servo power and have checked the pipe connections through without finding anything wrong. Before condemning the pump or the servo unit, it is as well to make sure that the trouble isn't just a slipping fan belt.
The fuel filter on the 2.3litre engine sits on the nearside behind the injector pump, and you get at it from inside the driving compartment. It is a spin-off filter, and the element should be changed regularly at the service intervals given in the handbook or workshop manual. Quite a few operators, more used to running petrol-engine vans, forget this. They also forget that there is a water drain valve at the base of the filter bowl which should be opened to check for water at regular intervals.
Normally, the fuel system on the 2.3-litre diesel is selfpurging, but sometimes if the system has been disturbed it takes rather a lot out of the battery to churn the engine over while the fuel is lifted from the tank. To save the battery there is a hand primer button on top of the fuel filter housing. With regard to purging air, Drake and Fletcher's fitters have sometimes found that if the system has been drained it is quicker to bleed at the injector pipes than wait for the system to purge itself.
1
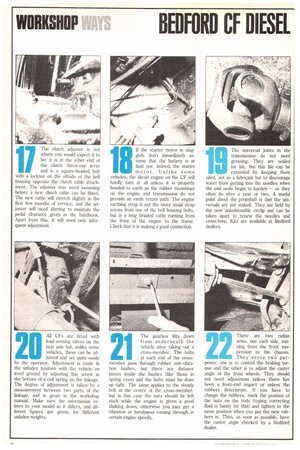
The large air filter sits under a ribbed aluminium cover just to the right of the rocker cover. You have to undo one holding bolt from the front, and two others inside the driving compartment. Once again, some operators more used to petrol engines fail to realise that the filter is, if anything, more important on a diesel engine. The element is a paper construction, and it is cleanable. It should be changed at the recommended intervals to make sure of good fuel consumption as well as to avoid black smoke and loss of power_ The clutch operating cable looks as if it should be adjustable, but it isn't; it is a fixed length and some fitters who are not familiar with CFs are puzzled — even to the extent of returning a new cable, saying that they have been given one of the wrong length. The light spring with long ends to it appears to work in the wrong direction until you realise it is not a pull-off spring but an anti-rattle spring. If the clutch doesn't work smoothly, the fault is quite likely to be a stiff cable that needs lubrication. The clutch adjuster is not where you would expect it to be; it is at the other end of the clutch throw-out lever and is a square-headed bolt with a locknut on the offside of the bell housing opposite the clutch cable attachment. The adjuster may need loosening before a new clutch cable can be fitted. The new cable will stretch slightly in the first few months of service, and the adjuster will need altering to maintain the pedal clearance given in the handbook. Apart from this, it will need only infrequent adjustment. If the starter motor is sluggish, don't immediately assume that the battery is at fault nor, indeed, the starter motor. Unlike some vehicles, the diesel engine on the CF will hardly turn at all unless it is properly bonded to earth as the rubber mountings on the engine and transmission do not provide an earth return path. The engine earthing strap is not the more usual strap across from one of the bell housing bolts, but is a long braided cable running from the front of the engine to the frame. Check that it is making a good connection. 'Ile universal joints in the transmission do not need greasing. They are sealed for life, but this life can be extended by keeping them oiled, not as a lubricant but to discourage water from getting into the needles when the end seals begin to harden — as they often do after a year or two. A useful point about the propshaft is that the universals are not staked. They are held by the now unfashionable circlip and can be taken apart to renew the needles and cross-tree. Kits are available at Bedford dealers.
All CFs are fitted with load-sensing valves on the rear axle but, unlike some vehicles, these can be adjusted and set quite easily by the operator. Adjustment is made in the unladen position with the vehicle on level ground by adjusting this screw at the bottom of a coil spring on the linkage. The degree of adjustment is taken by a measurement between two parts of the linkage, and is given in the workshop manual. Make sure the information relates to your model as it differs, and different figures are given, for different unladen weights. The gearbox lifts down from underneath the vehicle after taking out a cross-member. The bolts at each end of the crossmember pass through rubber anti-vibration bushes, but there are distance pieces inside the bushes (like those in spring eyes) and the bolts must be done up tight. The same applies to the steady bolt at the centre of the cross-member, but in this case the nuts should be left slack while the engine is given a good shaking down, otherwise you may get a vibration or harshness coming through at certain engine speeds. There are two radius arms, one each side, running from the front suspension to the chassis. They serve two purposes: one is to control the braking torque and the other is to adjust the caster angle of the front wheels. They should not need adjustment unless there has been a front-end impact or unless the rubbers deteriorate. If you have to change the rubbers, mark the position of the nuts on the rods (typing correcting fluid is handy for this) and tighten to the same position when you put the new rubbers in. Then, as soon as possible, have the castor angle checked by a Bedford dealer.